
OpenShift Virtualization Lab
|
Module |
Key Tool / Technology |
Core Capability Demonstrated |
|
1. VM Migration |
Migration Toolkit for Virtualization (MTV) |
Demonstrate "lift-and-shift" of a traditional VM (e.g., from vSphere) directly onto the OpenShift platform with minimal downtime. |
|
2. Day-2 Networking |
Service & Route |
Show how a migrated VM is immediately integrated into the OpenShift Software-Defined Network (SDN), allowing its application to be externally accessible via a standard Kubernetes Route. |
|
3. Storage Resilience |
VM Snapshots & CSI |
Demonstrate how to achieve data integrity and rapid recovery by creating CSI Volume Snapshots of a live VM disk and restoring from a snapshot after simulating a failure. |
|
4. VM Lifecycle |
VM Cloning |
Highlight agility by rapidly cloning a new, independent Virtual Machine from a stable snapshot, significantly accelerating environment provisioning. |
|
5. Infrastructure Scaling |
Bare Metal Operator (BMOP) |
Prove the elastic scalability of the platform by automating the provisioning of a raw bare metal host and integrating it as a new worker node available to host more VMs. |
These steps collectively prove that OpenShift Virtualization allows organizations to consolidate management by running traditional VMs and modern containers on a single, scalable platform, leveraging familiar Kubernetes tools for automation and Day 2 operations.
1. Environment Familiarization and Setup
- Log in to the OpenShift Web Console using the provided credentials (typically a user like developer or admin).
- Verify the OpenShift Virtualization Operator is installed and running correctly. Navigate to Operators $\rightarrow$ Installed Operators and check the status of OpenShift Virtualization.
- Navigate to the Virtualization Dashboard by selecting Virtualization from the left-hand navigation menu. This is your main interface for managing VMs.
- Select your assigned OpenShift Project/Namespace where you will be working.
2. Virtual Machine Management Fundamentals
This module covers creating and managing a basic VM.
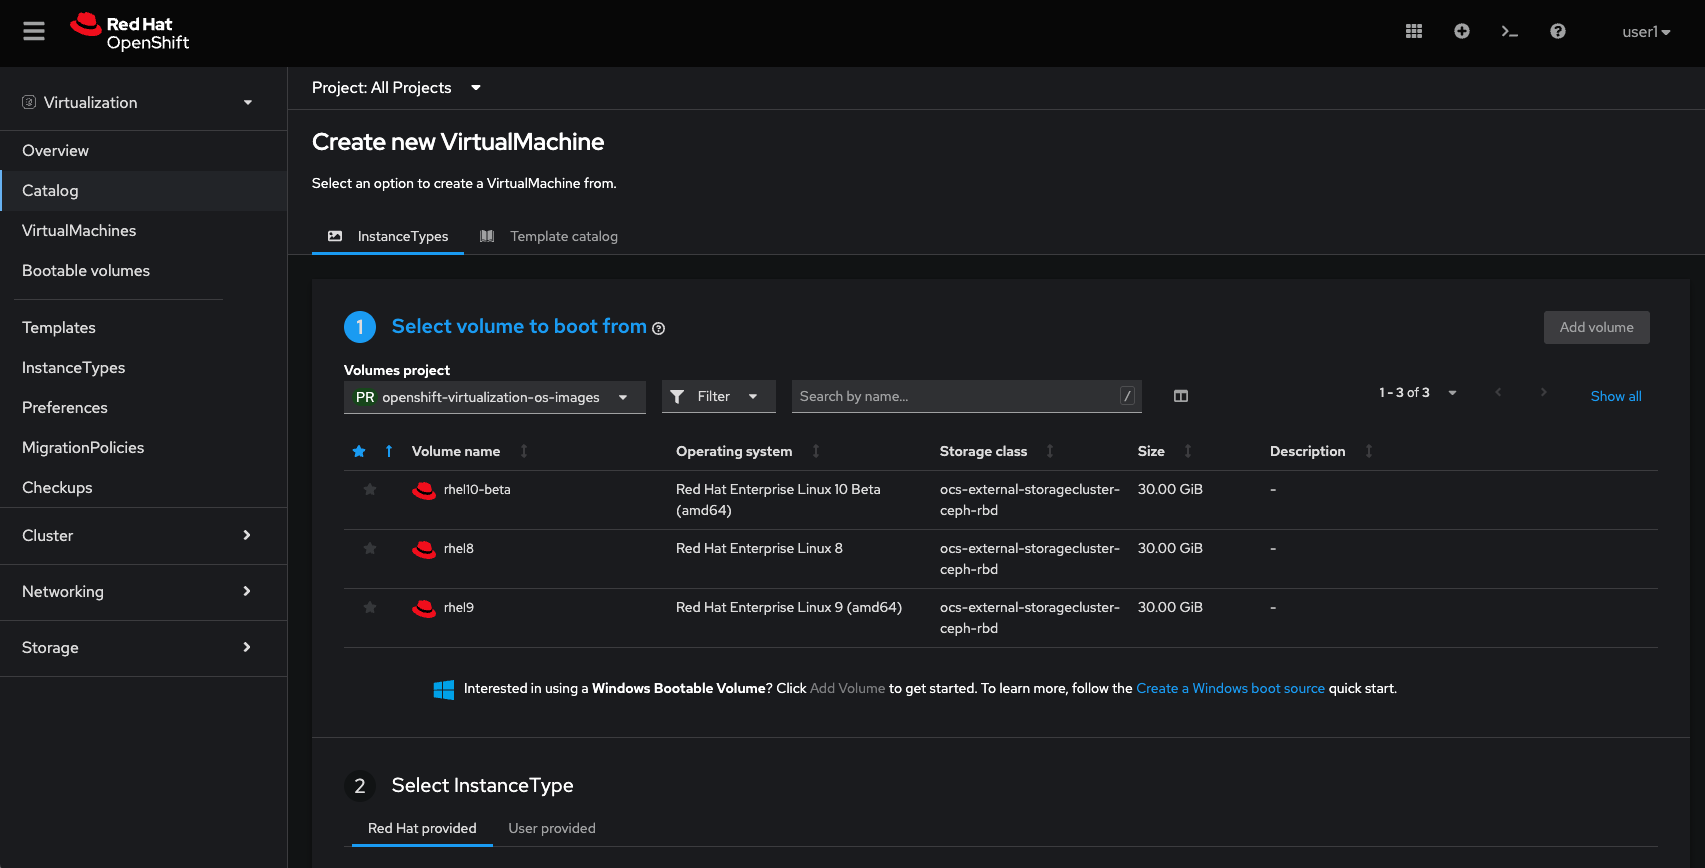
- Create a New Virtual Machine (VM):
- Click Create Virtual Machine.
- Select New with Wizard or From template if a base OS template is available (e.g., RHEL, Fedora, CirrOS).
- Configure VM Details:
- Provide a Name for the VM.
- Choose an appropriate Operating System and Flavor (e.g., small, medium, custom CPU/Memory settings).
- Configure Storage:
- Add a Disk for the OS. If using a template, the disk is often pre-configured to clone from the base image.
- Configure Networking:
- Ensure the default Pod Network is attached, which allows the VM to communicate with other OpenShift workloads.
- Review and Create the VM.
- Access the VM Console:
- Once the VM is running (Status changes to Running), click on its name in the VM list.
- Navigate to the Console tab to view the graphical or serial console and interact with the VM.
- Perform Basic Operations:
- Use the Overview tab to Start, Stop, Restart, or Delete the VM.
- Edit CPU/Memory resources (if supported by your environment and the VM state) by navigating to the Details tab and editing the configuration.
3. Migrating an Existing Virtual Machine (VM)
This section uses the Migration Toolkit for Virtualization (MTV), to bring in a VM from a traditional hypervisor (like VMware vSphere or Red Hat Virtualization) to OpenShift.
- Prerequisites: Ensure the Migration Toolkit for Virtualization Operator is installed (if required for the lab).
- Define a Source Provider:
- In the Virtualization menu, look for a Migration section or tab.
- Configure a Source Provider (e.g., vSphere) using provided connection details and credentials.
- Create a Migration Plan:
- Create a Migration Plan specifying:
- The Source Provider you just configured.
- The Source VM you want to migrate.
- The Target OpenShift Project for the migrated VM.
- Storage and Network Mappings (how to map the source's storage and networks to OpenShift storage classes and Network Attachment Definitions).
- Execute the Migration:
- Start the migration plan and monitor its progress in the OpenShift console.
- Once complete, verify the new VM is running in your OpenShift project.
4. Advanced Networking and Storage (Optional Modules)
Attach a Secondary Network (Multi-Network):- Create a Network Attachment Definition (Net-Attach-Def) to connect VMs to non-pod networks (like VLANs or external networks). This is often done under Networking $\rightarrow$ Network Attachment Definitions.
- Edit your VM to attach the new Net-Attach-Def to a new network interface.
- Learn how to add a new DataVolume to your VM for additional storage.
- Create a Snapshot of a running VM's disk.
- Restore the VM from a previous snapshot.
Migration Toolkit for Virtualization (MTV) Steps
This process assumes the MTV Operator is already installed in your OpenShift cluster (typically in the openshift-mtv namespace) and the lab environment provides a pre-configured source hypervisor (like VMware vSphere).
Phase 1: Verify Prerequisites and Mappings
1. Navigate to the Migration Console
- In the OpenShift Web Console, switch to the Administrator perspective (if you are not already there).
- In the left navigation menu, click Migration / Overview.
- Ensure the Forklift Controller status is Running (usually displayed with a green checkmark).
2. Verify Source and Destination Providers
- Navigate to Migration / Providers for virtualization.
- You should see at least two providers:
- Source Provider: A provider for the hypervisor you are migrating from (e.g., vmware-lab). Its status should be Ready.
- Destination Provider (Host): The OpenShift Virtualization cluster you are migrating to (this is often pre-configured as host). Its status should also be Ready.
3. Review Network and Storage Mappings
Before migrating a VM, MTV needs to know how to map the source environment's networks and datastores to OpenShift's equivalents.
- Navigate to Migration / Network maps.
- Verify a map exists, typically mapping the source VM network (e.g., VM Network) to the OpenShift Pod Network.
- Navigate to Migration / Storage maps.
- Verify a map exists, typically mapping the source datastore (e.g., vsanDatastore) to a compatible OpenShift StorageClass (e.g., ocs-storagecluster-ceph-rbd).
Phase 2: Create and Execute the Migration Plan
1. Create a New Migration Plan
- Navigate to Migration $\rightarrow$ Plans for virtualization.
- Click the Create Plan button.
- Basic Details:
- Plan Name: Enter a unique name (e.g., vmware-to-ocp-plan).
- Source Provider: Select your source hypervisor (e.g., vmware-lab).
- Target Provider: Select the OpenShift destination provider (host).
2. Select Virtual Machines (VMs)
- Click Next to move to the Select VMs step.
- The list will show VMs discovered from the source provider.
- Select the VMs you intend to migrate (e.g., a sample VM like winweb01 or database).
3. Configure Mappings
- Click Next to move to Migration settings.
- Target Namespace: Select the OpenShift Project/Namespace where the migrated VM will be created (e.g., your lab-assigned project).
- Network Map: Select the appropriate pre-configured network map (e.g., Pod Networking Map).
- Storage Map: Select the appropriate pre-configured storage map (e.g., OCS Storage Map).
4. Finalize and Create the Plan
- Click Next to go through any optional steps (like hooks or validation).
- Review the configuration on the final screen.
- Click Create migration plan.
Phase 3: Start the Migration and Monitor
- On the Plans for virtualization page, find the plan you just created. The Ready status should turn to True.
- Click the Start migration (Play icon) button next to your plan's name.
- A confirmation window will appear. Click Start.
- Monitor the Progress:
- The Executing column for your plan will turn to True.
- Click on the Plan Name to see the detailed progress bar. This bar tracks the migration of all VMs in the plan.
- Click the link for (X) of (Y) VMs completed to see the status of each individual VM.
- The migration involves several stages:
- Validation
- Transfer Data (disk copy)
- Conversion (preparing the disk for KubeVirt)
- Start VM (creating the final VM object on OpenShift)
Phase 4: Verify the Migrated VM
- Once the plan status changes to Succeeded, the migration is complete.
- Navigate to Virtualization / Virtual Machines.
- Switch to the Target Namespace you specified in the migration plan.
- You will now see the newly migrated VM (e.g., winweb01).
- Click on the VM's name, verify its Status is Running, and open the Console to log in and confirm the operating system and application data are intact.
Post-Migration: Exposing the VM Application
This guide assumes your migrated VM (e.g., winweb01) is running a web service on the standard port 80 (HTTP).
Phase 1: Add a Label to the VM (if needed)
For a Kubernetes Service to find your VM, the VM needs a label that the Service can use as a selector. OpenShift Virtualization VMs inherit labels from their parent VirtualMachine object.
- Navigate to the VM: In the OpenShift console, go to Virtualization $\rightarrow$ Virtual Machines.
- Click on the name of your migrated VM (e.g., winweb01).
- Go to the YAML tab.
- Find the spec.template.metadata.labels section and ensure a custom label exists, or add one.Example YAML Snippet (Ensure this is present):
YAML
spec:
template:
metadata:
labels:
app: migrated-web-app # <--- Ensure this label is here
# ... other labels - Save the YAML if you made any changes.
Phase 2: Create a Kubernetes Service (ClusterIP)
A Service provides a stable internal IP address and DNS name for the VM.
- Navigate to Networking: In the left menu, go to Networking $\rightarrow$ Services.
- Click Create Service.
- Select YAML View (top right) and paste the following, adjusting the name and selector to match your lab environment:
YAML
apiVersion: v1
kind: Service
metadata:
name: webapp-service
namespace: your-target-namespace # <--- Your lab project name
spec:
ports:
- name: http
port: 8080 # <--- The port the Service will listen on (internal to the cluster)
targetPort: 80 # <--- The port the application is listening on INSIDE the VM (e.g., 80 for HTTP)
protocol: TCP
selector:
app: migrated-web-app # <--- MUST match the label you set on the VM (e.g., 'winweb01')
type: ClusterIP - Click Create.
Note: The targetPort: 80 connects to the application inside the VM. The port: 8080 is the port OpenShift uses to expose this Service internally.
Phase 3: Create an OpenShift Route (External Access)
A Route exposes the Service to the outside world, giving it a public URL.
- Navigate to Routes: In the left menu, go to Networking $\rightarrow$ Routes.
- Click Create Route.
- Fill in the form with the following details:
- Name: webapp-route (or similar)
- Service: Select the Service you just created (webapp-service).
- Target Port: Select the port from your Service (e.g., 8080 -> 80 (TCP)).
- Insecure Edge Traffic: Select Redirect (if possible) (optional, but a good practice for HTTPS).
- Click Create.
Phase 4: Verification
- Stay on the Routes page and find your new route (webapp-route).
- Look for the Location column and click the link provided.
The web page of the application running inside your migrated VM should now load successfully in your browser using the external OpenShift URL! This demonstrates that the VM has been migrated, started, and integrated with OpenShift's container-native networking.
Storage Management: Snapshot, Break, and Restore
This lab requires that the underlying StorageClass (used by your migrated VM's disk) supports CSI Volume Snapshots (e.g., typically Red Hat OpenShift Data Foundation (ODF) or a certified partner storage).
Phase 1: Create a VM Disk Snapshot
A snapshot captures the current state of the VM's disk, allowing you to quickly revert to that point in time.
- Navigate to your VM: Go to Virtualization $\rightarrow$ Virtual Machines.
- Click on the name of your migrated VM (e.g., winweb01).
- Navigate to the Snapshots tab.
- Click the Take snapshot button.
- Configure the Snapshot:
- Name: Enter a meaningful name, such as snap-before-change.
- Description (Optional): Add a note (e.g., "VM is clean and running with web app").
- Disks: The main OS disk should be automatically selected. (You might see a warning about ephemeral disks like cloudinitdisk not being included—this is expected and safe to ignore.)
- Click Save.
- Wait for the snapshot status to show Succeeded.
Phase 2: Simulate a Disaster (Break the VM)
To demonstrate the restore capability, you'll make an irreversible change inside the VM.
- Access the VM Console: Go to the Console tab of your running VM.
- Log in using the required credentials.
- Execute a command that will prevent the VM from booting (you can use your migrated Linux VM for this, as Windows operations might be different):
For Linux VMs:
Bash
# Run this command to delete the boot configuration directory
sudo rm -rf /boot/grub2
# Reboot the VM
sudo reboot - Watch the console. The VM should reboot, fail to find the bootloader, and enter an unrecoverable state.
- Stop the VM: On the Overview tab, use the Actions dropdown menu and select Force Stop to ensure the VM is fully powered down, which is a prerequisite for restoring a snapshot.
Phase 3: Restore the VM from the Snapshot
- Navigate to Snapshots: Go back to the Snapshots tab for your stopped VM.
- Locate the snapshot you created, snap-before-change.
- Click the three-dot menu ($\cdots$) next to the snapshot name.
- Select Restore VirtualMachine from snapshot.
- A confirmation dialog will appear. Click Restore.
- Wait for the restoration process to complete (Status: Succeeded). The VM's disk is being reverted to the state of the snapshot.
- Start the VM: Go back to the Overview tab and click the Start button.
- Verify the Restore: Check the Console tab. The VM should boot up successfully, proving that the disk was reverted to its functional state before the disaster.
Bonus: Clone a VM from a Snapshot
A great way to leverage snapshots is to clone an entire new VM from a stable snapshot, which is faster than creating a new VM from scratch.
- Navigate to Snapshots: Go back to the Snapshots tab.
- Click the three-dot menu ($\cdots$) next to the snapshot name (snap-before-change).
- Select Create VirtualMachine from Snapshot.
- Configure the Clone:
- Name: Enter a new name (e.g., web-app-clone-02).
- Check the box for Start VirtualMachine on clone (optional, but convenient).
- Click Create.
OpenShift will use the snapshot as the source to provision a completely new VM and its disk. You can monitor the new VM's progress under Virtualization $\rightarrow$ Virtual Machines.
Bare Metal Infrastructure Management: Adding a New Node
The goal is to provision a new physical host (or a simulated host) and turn it into a fully functional OpenShift worker node, allowing the cluster to scale.
Phase 1: Verify the Bare Metal Operator
- Check Operator Status: In the OpenShift console, navigate to Operators $\rightarrow$ Installed Operators.
- Verify that the Bare Metal Operator (BMOP) is installed and shows a Succeeded status. This operator manages the lifecycle of new bare metal hosts.
Phase 2: Identify the New Bare Metal Host
The lab environment will have a server ready to be discovered. This host typically boots using PXE/iPXE and connects to the cluster's network.
- Navigate to Hosts: In the left-hand menu, go to Compute $\rightarrow$ Bare Metal Hosts.
- You should see one or more hosts with a State of "Discovering" or "Ready to be provisioned." These are the physical servers detected by the BMOP.
Phase 3: Provision the Bare Metal Host
You need to instruct OpenShift to take ownership of the host and install the operating system (Red Hat CoreOS) required for it to join the cluster.
- Select the Host: Click on the host you wish to add to the cluster (it should be labeled appropriately for the lab).
- Edit the Host Configuration:
- Find the Actions dropdown menu or button.
- Select Edit.
- Configure Provisioning Details:
- Image: Ensure the correct Red Hat CoreOS image is selected for provisioning.
- Role: Set the role to Worker (or Worker/Compute).
- Machine Name: Provide a name for the resulting OpenShift Machine object (e.g., worker-virt-new).
- Storage and Networking: The lab typically pre-configures the storage and network details needed for provisioning.
- Save/Provision: Click Save or Provision to start the process.
Phase 4: Monitor the Node Join Process
The host will go through several automated steps managed by the Bare Metal Operator:
- State Transition: Monitor the State column for the host in the Bare Metal Hosts list:
- It moves from Provisioning (OpenShift is preparing the image).
- Then to Installing (OpenShift is installing Red Hat CoreOS onto the physical disk).
- Finally, the host is turned over to the OpenShift platform.
- Verify Node Join: Navigate to Compute $\rightarrow$ Nodes.
- A new node object, matching the name you provided (e.g., worker-virt-new), will appear.
- Wait for the node's Status to change to Ready and the Role to be labeled worker.
The new worker node is now available to run both containerized workloads and, more importantly, virtual machine workloads managed by OpenShift Virtualization, demonstrating the elastic scalability of the platform.

